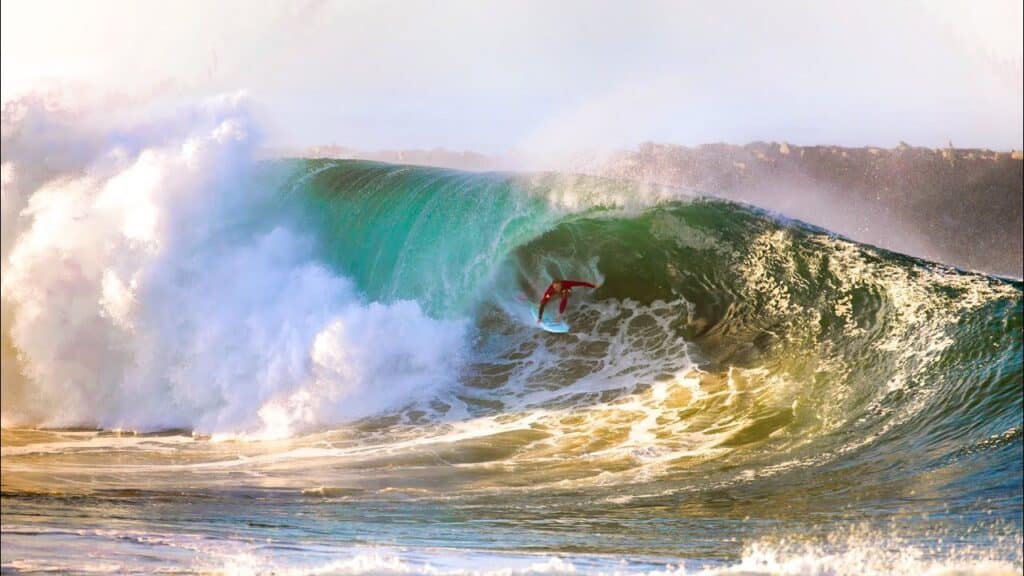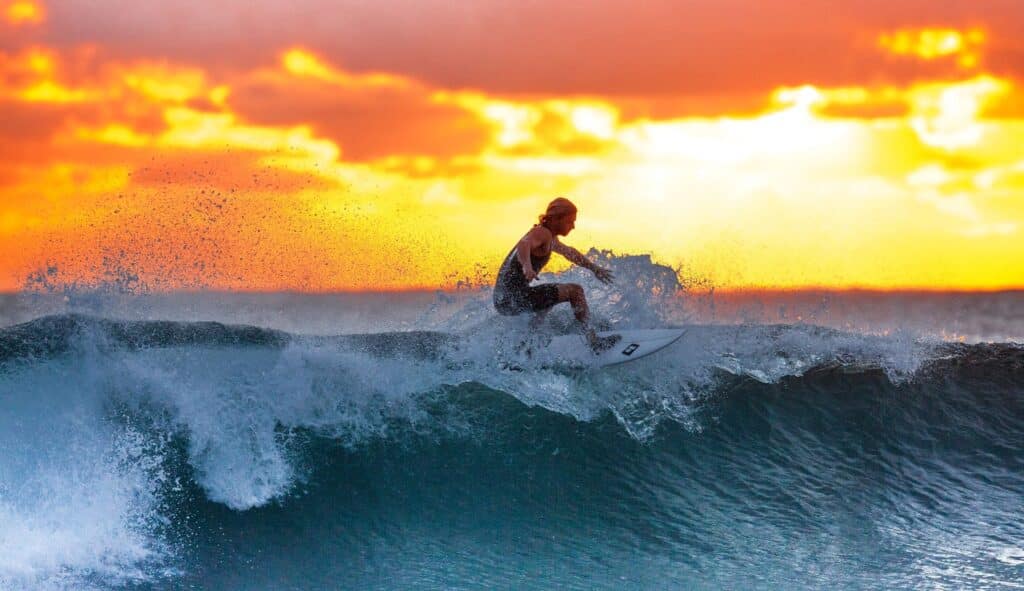
Shooting surfers in the water isn’t easy. There aren’t many scenarios that are as challenging technically to photograph as a surfer in the water. A surfer on a wave is in constant motion, which requires a quick reaction from the photographer and the correct camera settings to capture the moment. Additionally, surf photographers are constantly dealing with harsh lighting. Surf photos are prized possessions amongst surfers. After all, it’s not often we get mementos of the fleeting moments that happen to us when we’re in the water. At JOB Surf Experience, we have some of the island’s best photographers and videographers on-site to capture your North Shore Surf Lessons. When you’re surfing back home or on your next surf trip, you’re likely not hiring a professional photographer or action sports videographer to capture your sessions. So, if you’ve been lugging a camera around on your surf trips but haven’t been taking the high-quality photos you’re after, continue reading below for The JOB Experience Guide to Surf Photography.
Invest in quality surf photography equipment

Shooting from the beach or the water without the proper lens will limit your ability to capture surfers in frame effectively. Shooting without a zoom lens from the sand is only possible at a handful of breaks around the world where the waves break exceptionally close to shore. To shoot from the sand, shop for a 100-400mm lens or a 70-200mm lens. If you’re shooting in the water using a water housing, look for a 16-35mm wide-angle, a 50 mm prime lens, or a 24-70 mm zoom lens depending on your needs. If you’re shooting from the shore, make sure you have a trusty tripod or monopod to ensure a steady hand.
Shutter Priority is your friend

In surf photography, everything is in constant motion, the surfer, the board, the water. So, we use high shutter speeds to capture detail in motion. Most cameras have a shutter priority auto setting that will maintain a high shutter speed as you shoot while automatically adjusting the other camera settings to match the surrounding light.
Composition is everything

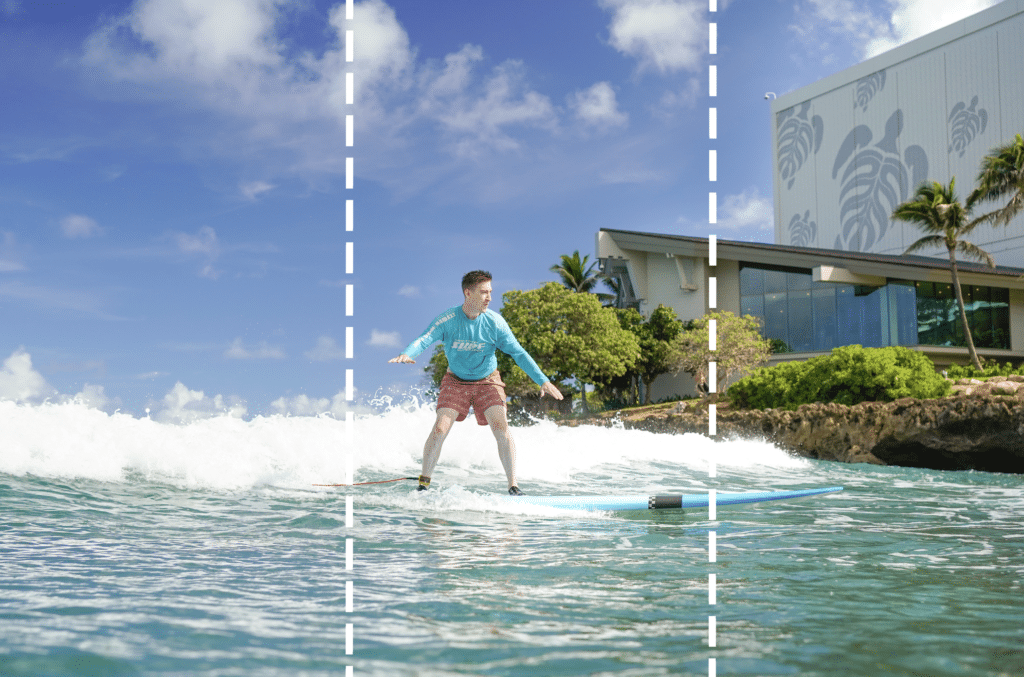
In surf photography, and photography more broadly, the composition is everything. Instead of taking up the whole frame with your subject, consider the Rule of Thirds to help you capture some of the surrounding coastal beauty. The Rule of Thirds divides any given photo into vertical thirds and states that a photographer’s subject should be placed in a single third.
Pay attention to light

Due to the nature of most surf breaks, surf photography typically requires a surfer to shoot directly into the East or West in the early morning or late afternoon light. Depending on your coastal orientation, you may be shooting directly into harsh lighting. To help neutralize harsh lighting, shoot with a Neutral Density Filter, which reduces the amount of light that passes through your camera’s filter.
Don’t over-edit

Editing can make or break your surf photos. A good rule to live by in surf photography is to only edit to accentuate positive features of a photo that are already present. Don’t add elements to your photograph that aren’t there. Make elements of your photograph crisper, colors bolder, and textures more detailed, but don’t use your editing tools to trick viewers.
Like surfing, surf photography can take years to master but is well worth the effort. Photography and surfing will take you around the world and introduce you to interesting people in the far-flung corners of the globe. When you find yourself in Hawaii, on Oahu’s North Shore, book your stay at the Turtle Bay Resort to stay close to the action near the Seven Mile Miracle. JOB Surf Experience has you covered for all your Ocean adventures on Oahu, including North Shore Surf Lessons, Stand Up Paddle Yoga, SUP Tours, Guided Surfs, and more.
